How to use the
Bigo Boost panel
Get to know the panel's features in a few simple steps.
Find the bot on Telegram
To use the panel in Telegram, search for bigoprobot to reach the Bigo Boost panel. Registration and sign-in happen automatically at this step.
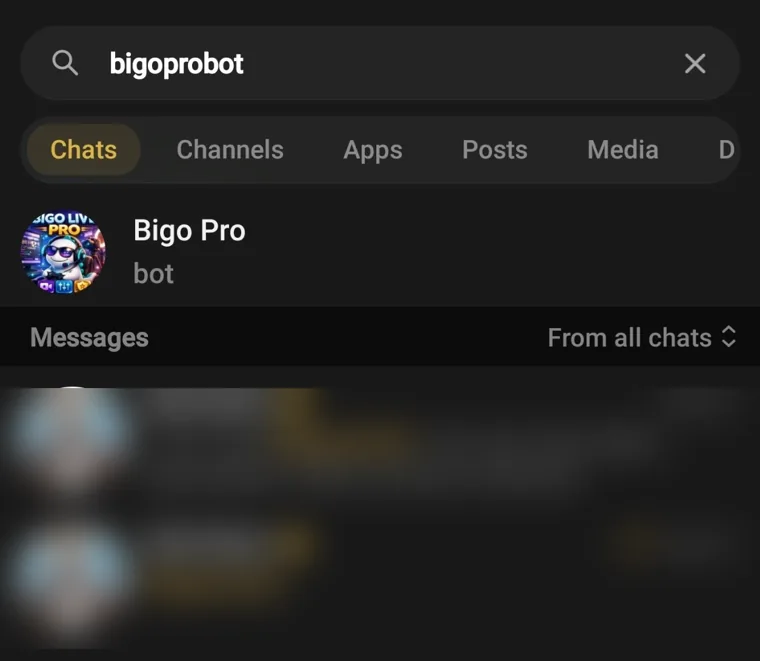
- 1Enter bigoprobot in Telegram's search box.
- 2Tap the Bigo Pro bot to open it.
Start the bot and choose your language
In the Telegram bot, tap Start to enter the bot, then choose your preferred language from the available options.
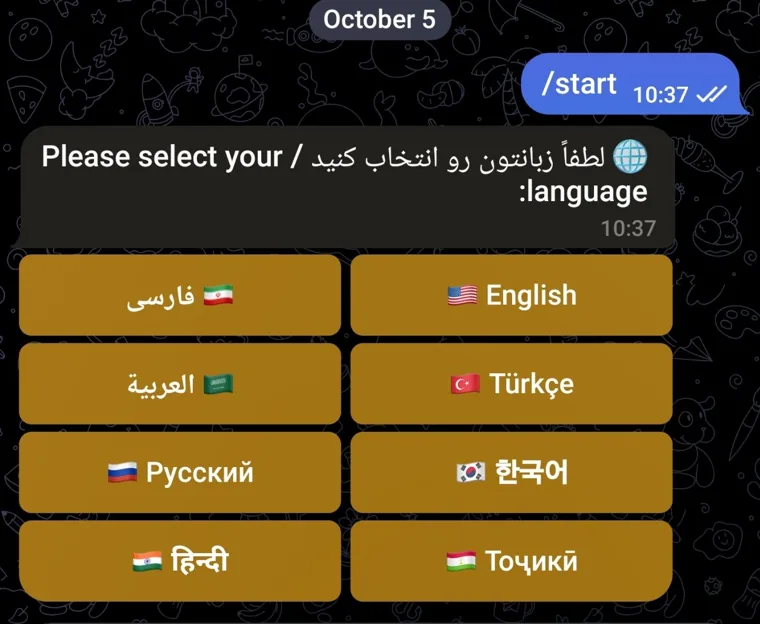
- 1Tap Start to enter the bot.
- 2Choose your preferred language.
Panel introduction and opening the app
After you choose a language, the Bigo Pro introduction message appears. Use the mini-app button to open the app, and message support if you need help.
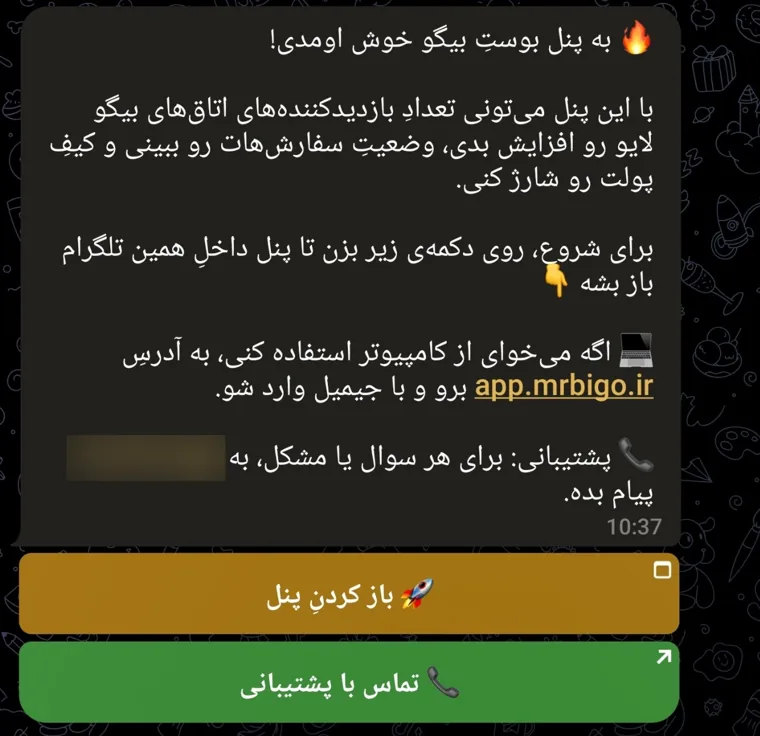
- 1Tap “Open the panel” (🚀 باز کردنِ پنل) to open the panel inside Telegram.
- 2For any question or problem, tap “Contact support” (📞 تماس با پشتیبانی) and send a message.
Sign in from a computer
If you prefer a computer, enter https://app.mrbigo.ir in your browser's address bar and press Enter. Once the page has loaded, sign in with the Gmail button.

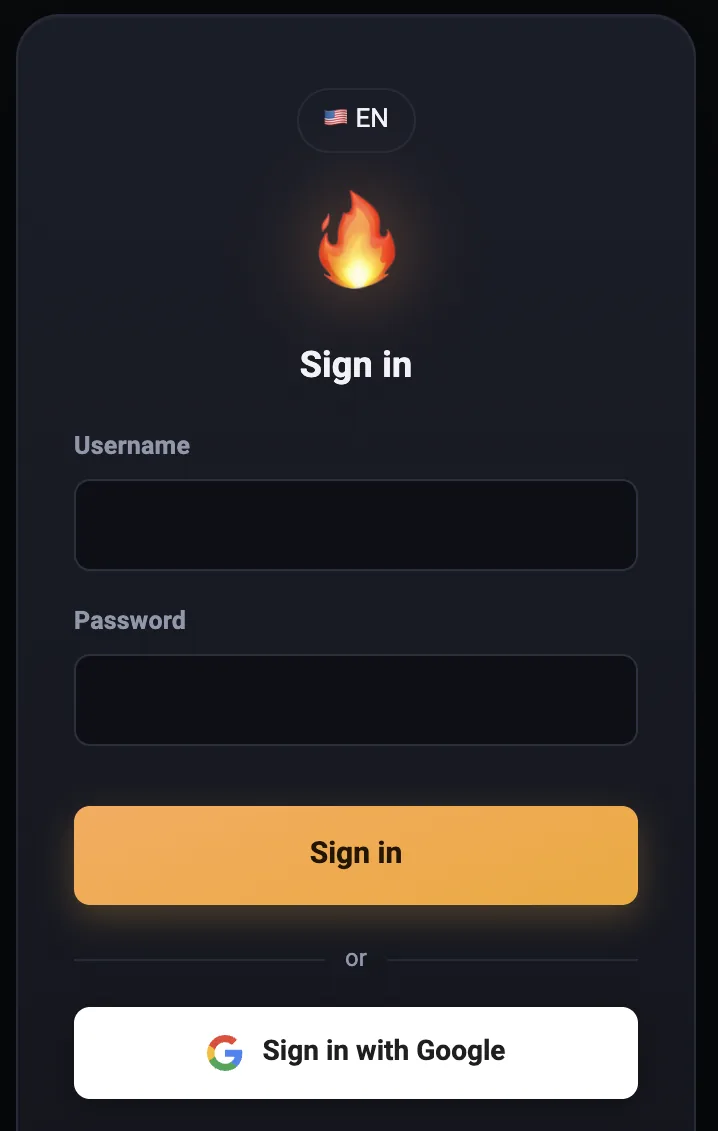
- 1Enter https://app.mrbigo.ir in the browser's address bar and press Enter.
- 2After the page loads, click Sign in with Google.
The panel home page
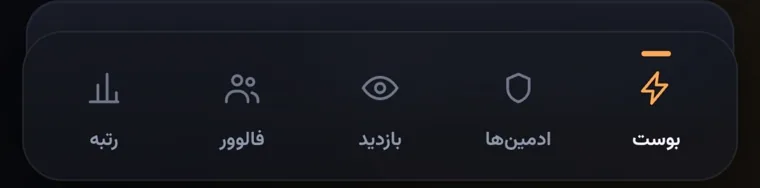
After signing in, the main page of the panel is shown. At the top you see your username, point balance and the Charge button; at the bottom is the navigation menu.
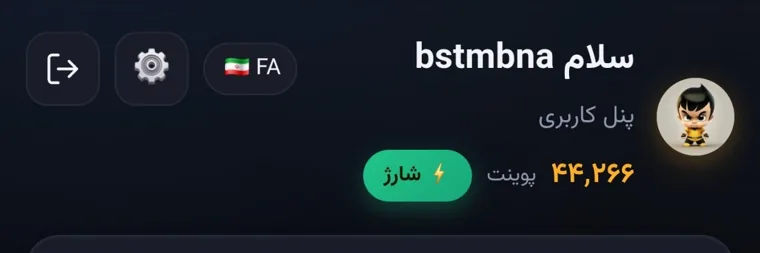
- 1Your point balance. Each point is worth 1,000 Rials.
- 2Use the “Charge” (شارژ) button to top up your account.
- 3Use the bottom menu to reach the different sections: Boost, Admins, Visitors, Followers and Ranking.
Charging your account
You first need to charge your account. Tapping “Charge” opens the window below, which offers two payment methods: payment in Rials and payment in crypto. Choose one.
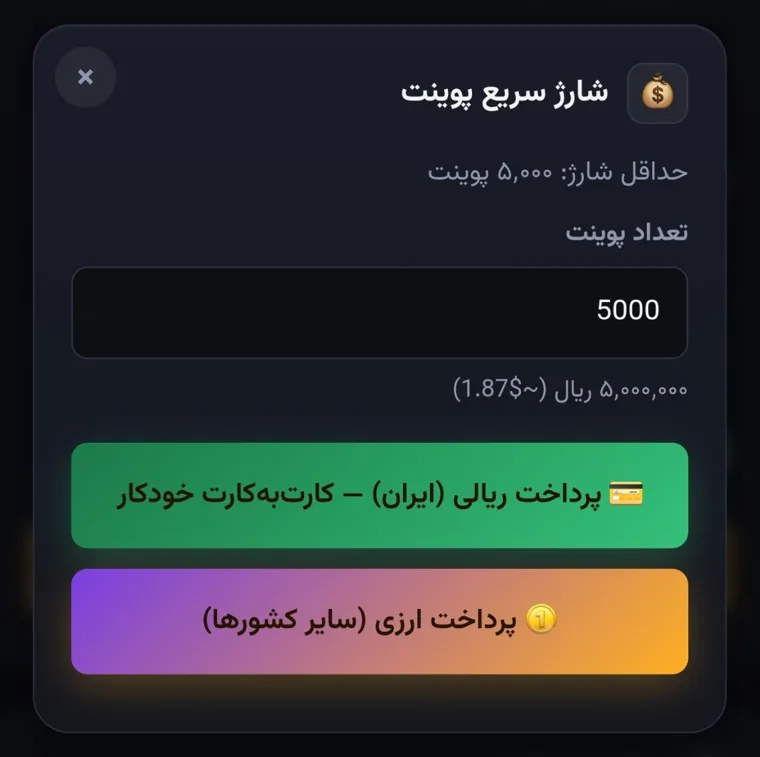
- 1The number of points is 5,000 by default; enter a larger amount if you need to. The minimum charge is 5,000 points.
- 2Payment in Rials (Iran) — automatic card-to-card transfer.
- 3Crypto payment (other countries).
Payment in Rials (card-to-card)
If you choose Rial payment, this page appears. It is not a bank gateway: without closing the page, transfer exactly this amount to the card shown.
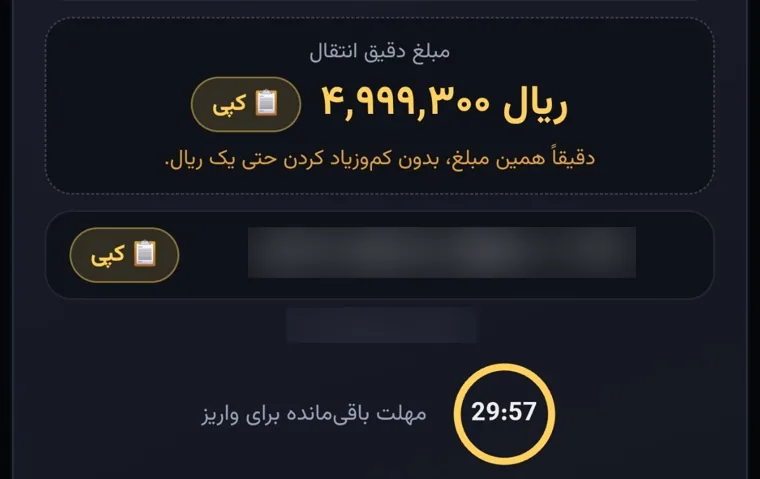
- 1Copy the amount exactly, without adding or subtracting even one Rial.
- 2Copy the card number and make the card-to-card transfer in your bank's app or internet banking.
- 3You have 30 minutes to pay. Do not close the page until the transaction is complete.
Crypto payment: choose network and currency
If you choose crypto payment, you pay with a digital currency and the payment is confirmed automatically. First choose the network and the currency.
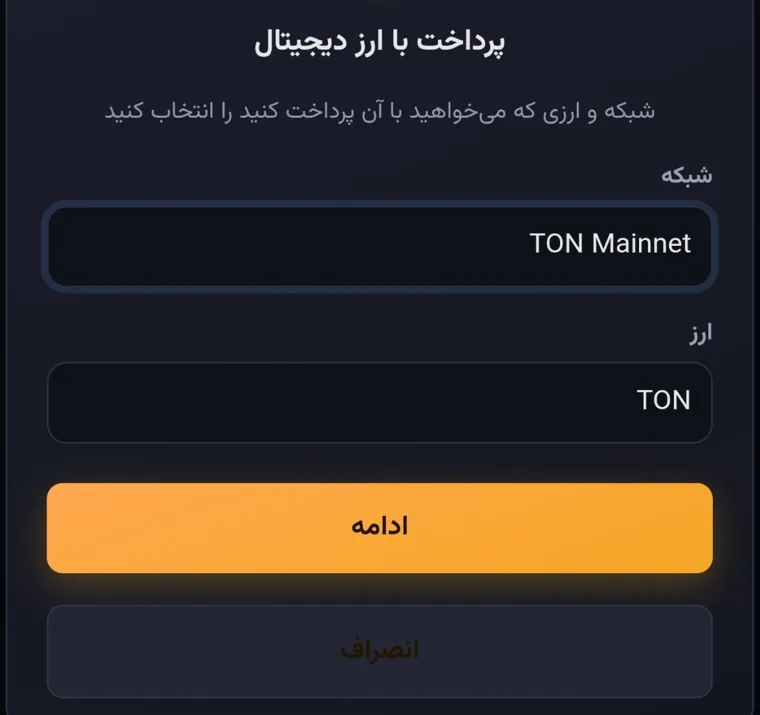
- 1Choose the network.
- 2Choose the currency.
- 3Tap “Continue” (ادامه) to go to the next step.
Crypto payment: transfer and confirmation
This window shows the wallet address and the amount of currency. Transfer exactly that amount to the wallet and wait for confirmation.
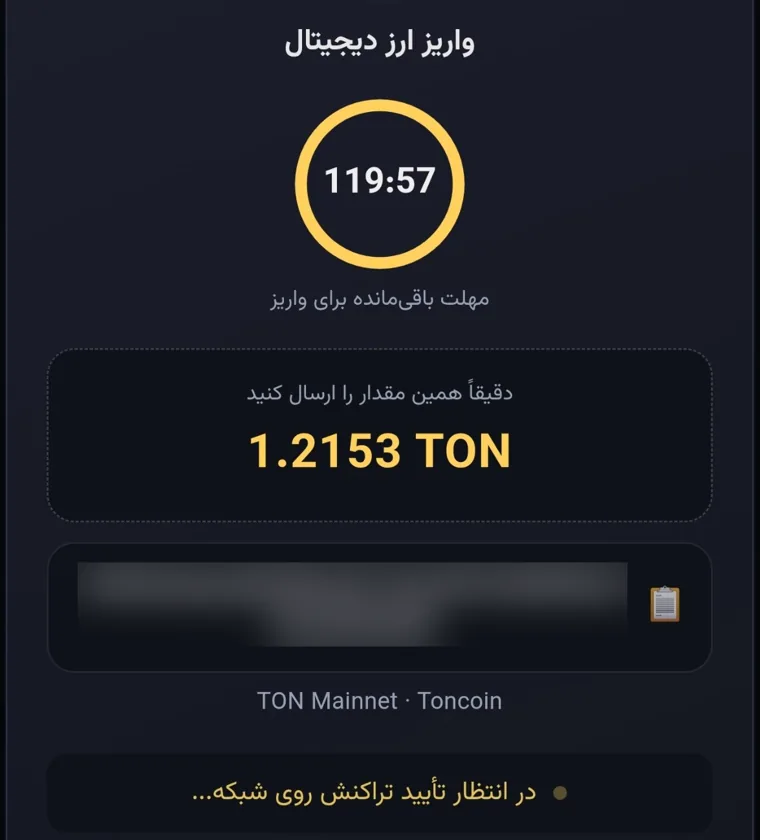
- 1The timer shows the time left to make the transfer.
- 2Send exactly this amount of currency.
- 3Transfer the amount to the wallet address shown (use the copy icon to copy the address).
- 4Wait for the transaction to be confirmed on the network; confirmation is automatic.
Starting a boost
To increase a live's views and fire, open the “Boost” menu and enter the Bigo ID and the number of viewers you want.
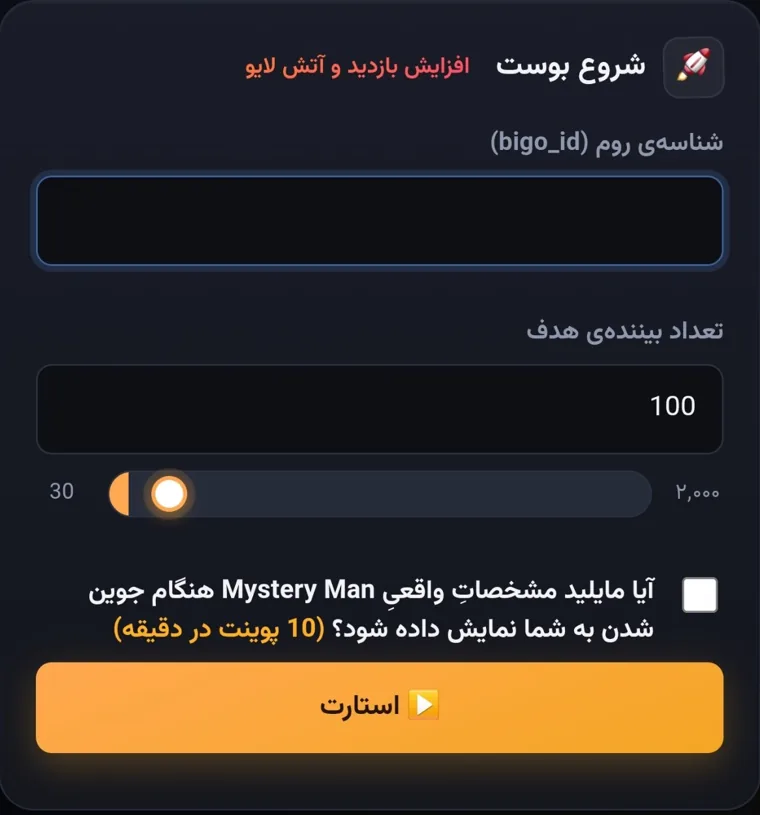
- 1Enter the live's Bigo ID (bigo_id).
- 2Enter the number of viewers: minimum 30, maximum 2,000.
- 3Tick this box to see a Mystery Man's real details as soon as they join the live (10 points per minute, extra).
- 4To start the boost, tap “Start” (استارت).
- 5To stop the boost, tap “Stop” (استاپ).
Active boost report
Once you tap Start, the boost begins. Scroll down to see the active boost report: profile picture, live name, target count, point consumption and the connection status to the Bigo server.

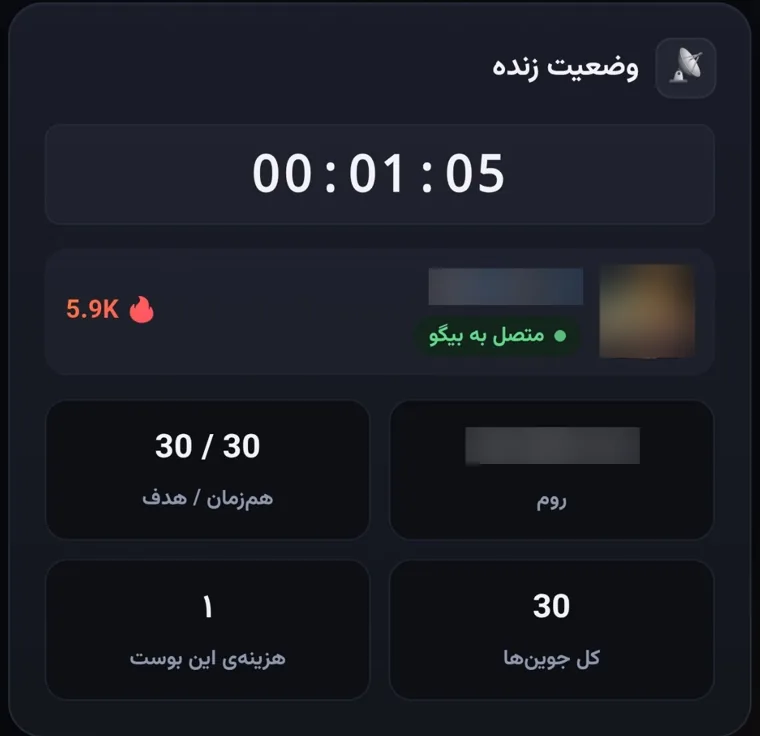
- 1After you tap Start, the button becomes “Stop” (استاپ); use it to stop the boost.
- 2The timer shows how long the boost has been running.
- 3Profile picture and live name, the connection status to the Bigo server (“Connected to Bigo”) and the live's fire (🔥).
- 4Concurrent / target: the number of viewers present compared with the target.
- 5Cost of this boost: the points used.
Mystery Man history
If you ticked the Mystery Man box during the boost, the history of the Mystery Men who joined the live appears at the bottom of the page.

- 1Tap the “Mystery Man history” title to open or close the history.
- 2The details of each Mystery Man (picture, name, ID, room and time of entry) are recorded in this list.
Final boost report
After you tap “Stop”, the final boost report is shown, with various statistics about the boost.
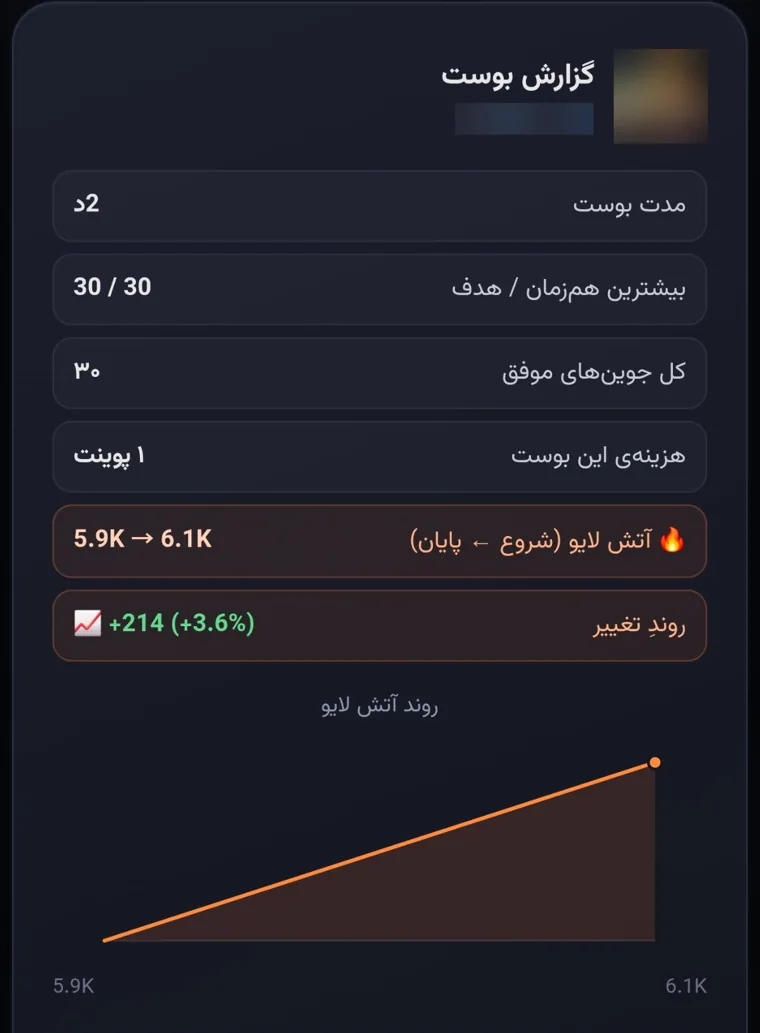
- 1Boost statistics: boost duration, peak concurrent viewers against the target, total successful joins and the cost of the boost (points).
- 2Live fire: the live's fire at the start and end of the boost, and how it changed.
- 3A chart of the live's fire trend during the boost.
Viewing a live's admins
In the “Admins” menu, enter a live's ID to see the list of that live's admins and each one's access level.
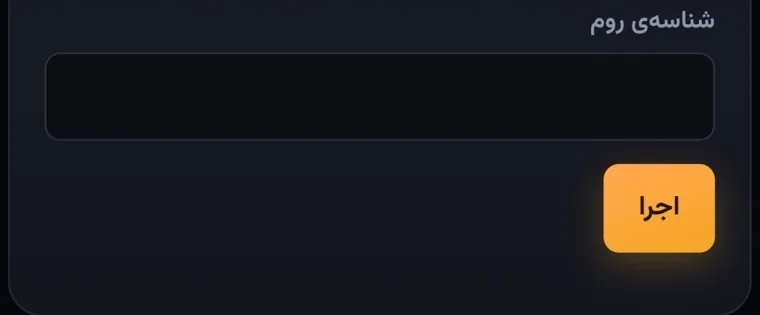
- 1Enter the ID of the live.
- 2Tap “Run” (اجرا).
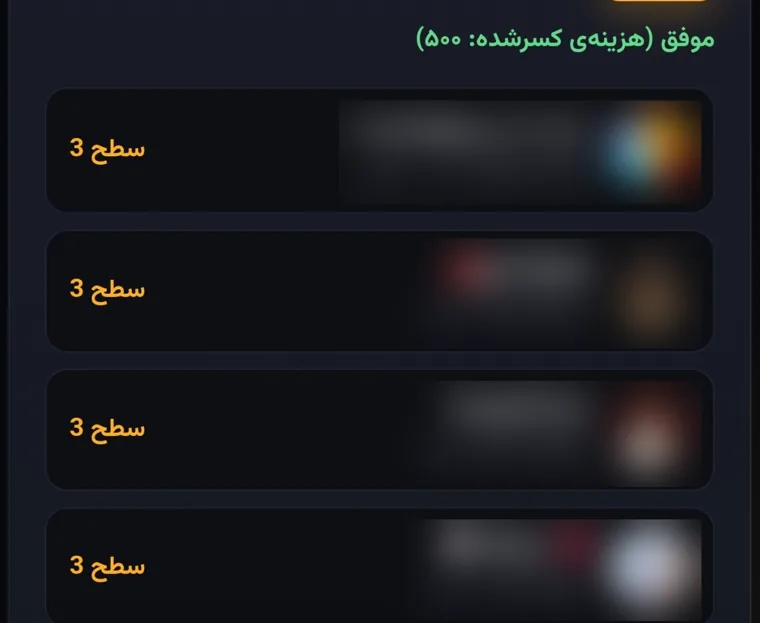
- 3A success message and the deducted cost are shown (500 points in this sample).
- 4The list of the live's admins: picture, name, user ID (uid), online status and each admin's access level (on the left of each row).
Viewing a live's visitors
In this menu you can see the list of visitors who are in a live at that moment.
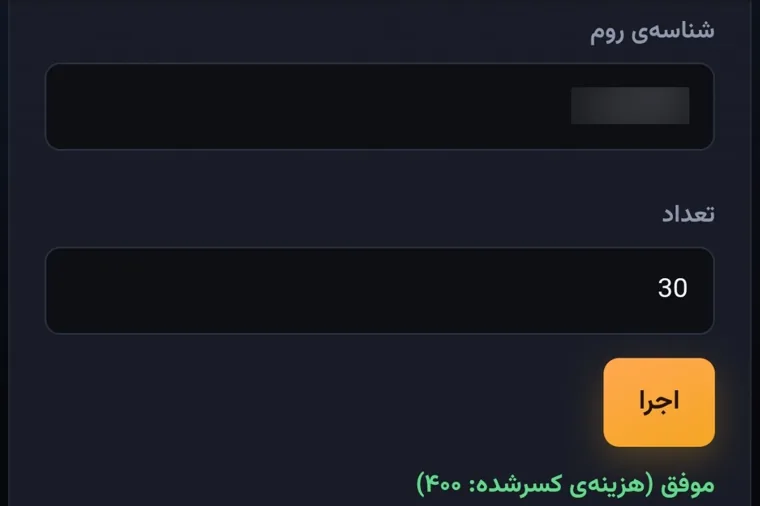
- 1Enter the ID of the live.
- 2Enter the number of visitors you want listed.
- 3Tap “Run” (اجرا).
- 4A success message and the deducted cost are shown (400 points in this sample).
The visitor list
After you run the query, the visitors received are shown as a list.
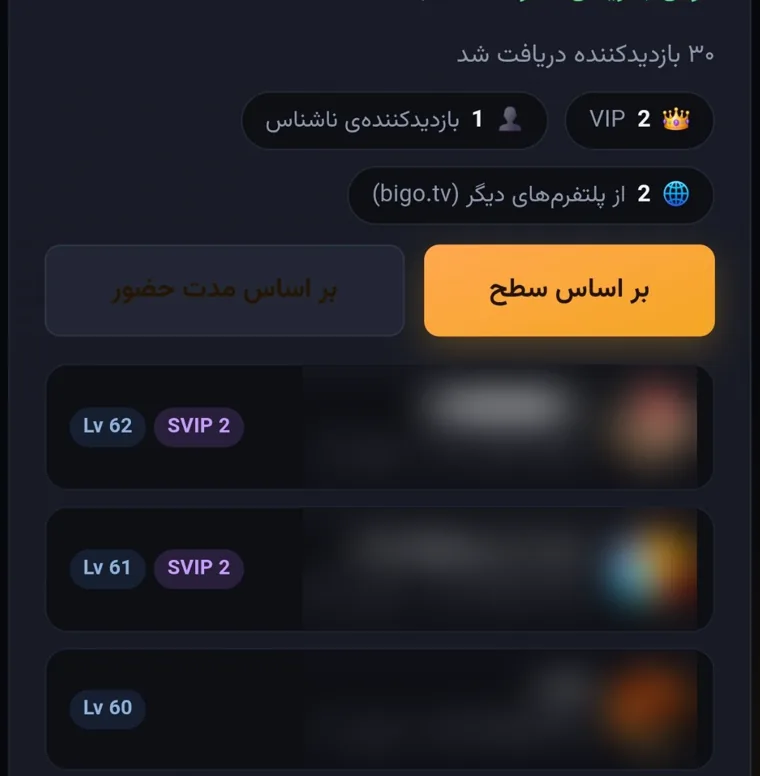
- 1The number of visitors received and their categories (VIP, anonymous visitor, other platforms such as bigo.tv).
- 2Sort the list by level or by time present.
- 3Each visitor's details: picture, name, uid, level (Lv), VIP type and time present.
Viewing followers
In the “Followers” menu you can see the list of followers or followings of an ID.
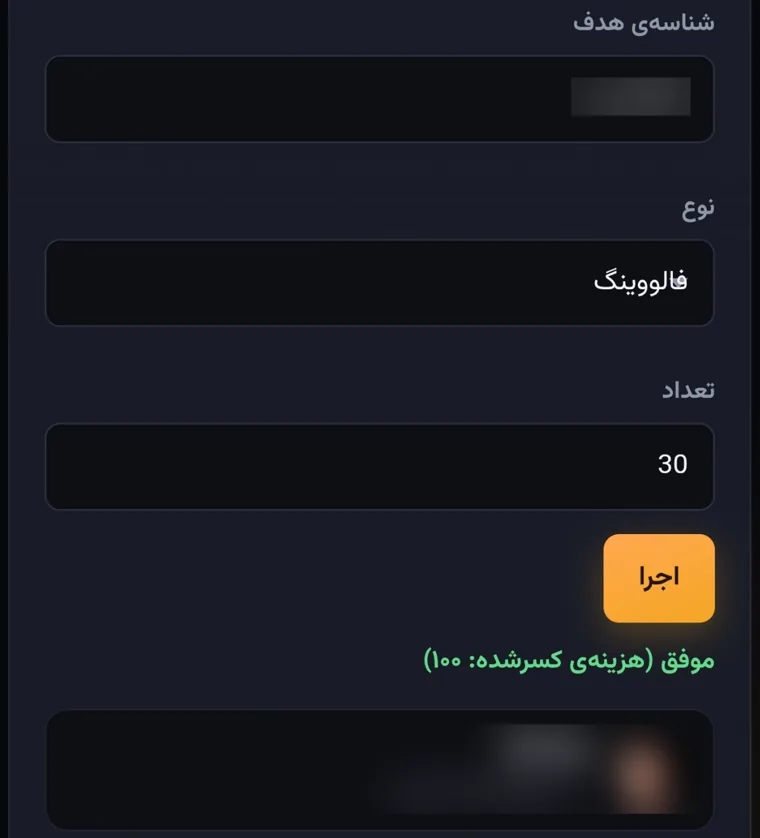
- 1Enter the target ID.
- 2Choose the type: followers or following.
- 3Enter the number you want.
- 4Tap “Run” (اجرا).
- 5The deducted cost is shown (100 points in this sample).
- 6The results: each user's picture, name and ID.
Viewing the ranking
In the “Ranking” menu you can see the gifter ranking (contribution) report of an ID.
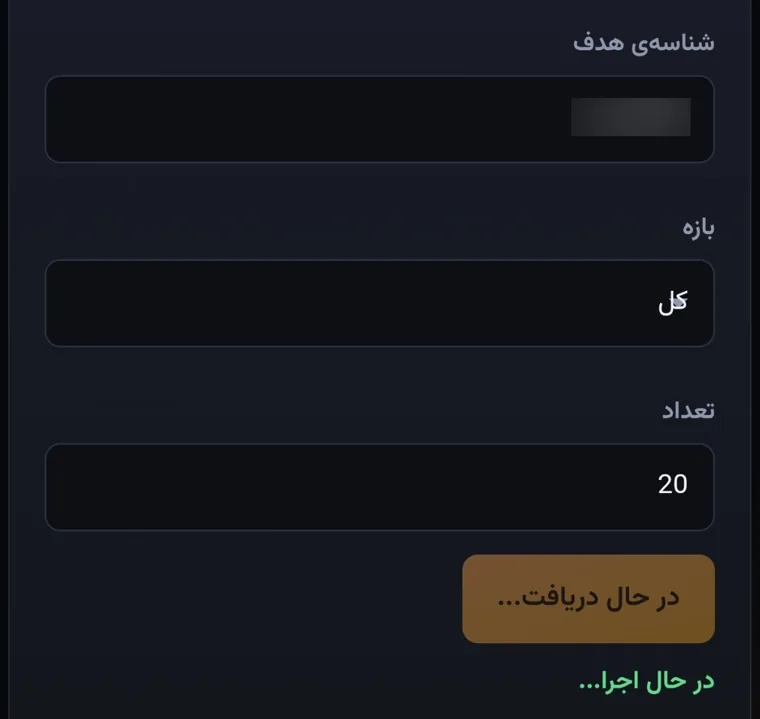
- 1Enter the target ID.
- 2Choose the time range of the report (“All” in this sample).
- 3Enter how many ranking rows you want to receive.
- 4Tap “Run” (اجرا); while it loads, the button shows “Receiving…”.
@premium_shop_org